Nano Magic: How To Grow Nano Aquarium Plants Without CO2
This article will teach you how to set up a planted small aquarium, grow lush nano aquarium plants in it, and have it look like a piece of art – “Nano Aquarium Magic.”
I am currently setting up a brand new 2-gallon nano, and so I will provide you with pictures of the process.
I will create what I call a “Hybrid Amano” aquarium. This is an aquarium setup similar to the aquarium artist Takashi Amano. Takashi created many styles of aquariums. Some of his aquariums were absolutely enormous. Since we are dealing with the absolutely tiny, I call it a hybrid Amano.
What is a natural aquarium?
Hobbyists consider a natural or low-tech aquarium to be an aquarium that doesn’t provide artificially created CO2. A natural aquarium uses soil and bacteria in the aquarium to provide CO2 for the plants.
How big is a nano aquarium?
Nano is a word used in measuring and means one billionth. This is a very small unit of measure. So, with an average-sized aquarium being about 25 gallons, a nano aquarium will be very small, five gallons or less. The smallest nanoaquarium available is 1.6 gallons.
With this article, I will concentrate on the Amano style, in which there is a large open area above the plants and stones. If this were a regular-sized aquarium, I would fill the open area with fish. Because I am discussing nanoaquariums, I will suggest adding Ramshorn snails and/or shrimp.
Grow Your Own Live Fish Food – 8 Easy Types
“To the container, add lettuce, spirulina, yeast or best, farm animal dung. Fill your container with conditioned water and your choice of the mentioned ingredients.”
Supplies you will need to create a beautiful no co2 nano aquarium
Here is what I purchased in order to create my 2-gallon Amano hybrid aquarium:
* A 2-gallon rimless, low lead glass aquarium. At the time it was $20 off the regular price, so that decided for me. Check the price on Amazon by tapping here or tap the image.
* Ipower, reptile heat pad, 6x 8”, 8 watts. This heating pad got the water temperature up to 74 degrees F. Since I’m not putting fish in this aquarium, only Ramshorn snails and shrimp, I think 74 degrees is going to be ok. Check the price on Amazon by tapping here or the image.
* Aquaneat, aquarium water pump. This tiny pump is used to move the water around so that biofilm doesn’t form on the surface. Biofilm seems to be toxic. I have seen the snails eat it and then die. Check the price on Amazon by tapping here or the image.
* Aqueon, clip on LED light. It puts out a very pleasing blueish light. This will help you grow the lush aquarium plants you want. Check the price on Amazon by tapping here or tap the image.

* Power Strip Tower Surge Protector Electric Charging Station, 14 Outlet Plugs with 4 USB Slot. I love this product. I own two. Check the price on Amazon by tapping here or tap the image.
* 12 inch black plastic trays. My two-gallon tank fits perfectly on this tray, and if I get water outside of the tank, the tray will catch it so it doesn’t get on the furniture. These trays are attractive and strong. I’ve moved my half-full aquarium around on it. Check the price on Amazon by tapping here or tap the image.
Do you want to grow Amazon Sword plants like the ones below that I grew?
Tap this box to buy them (and other aquarium plants) on Amazon.
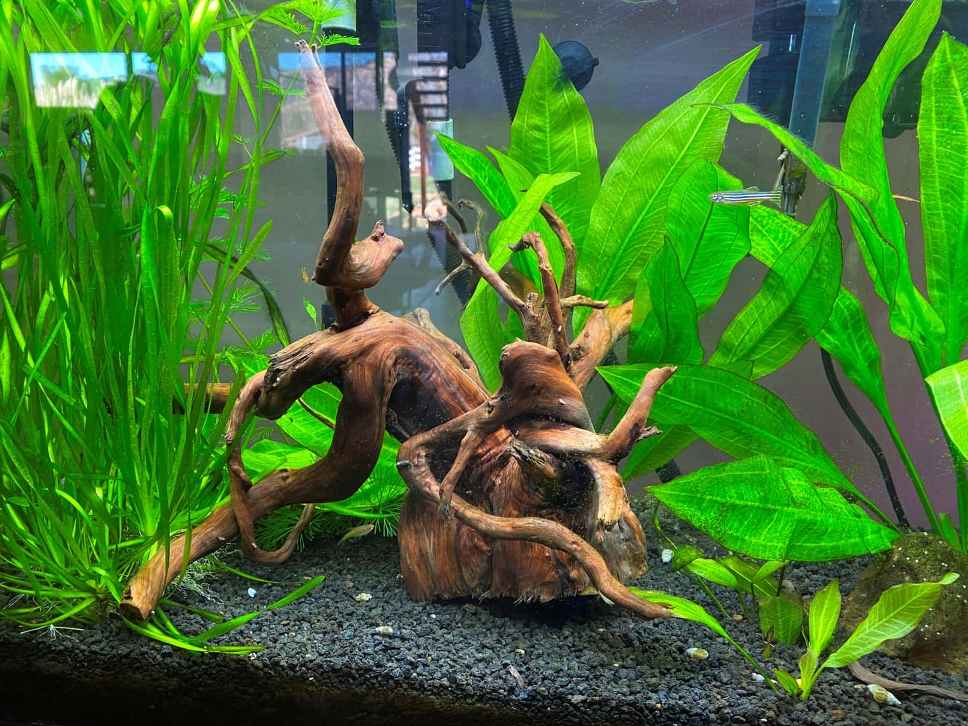
Or maybe you want to grow a giant sword plant like this one that I grew:
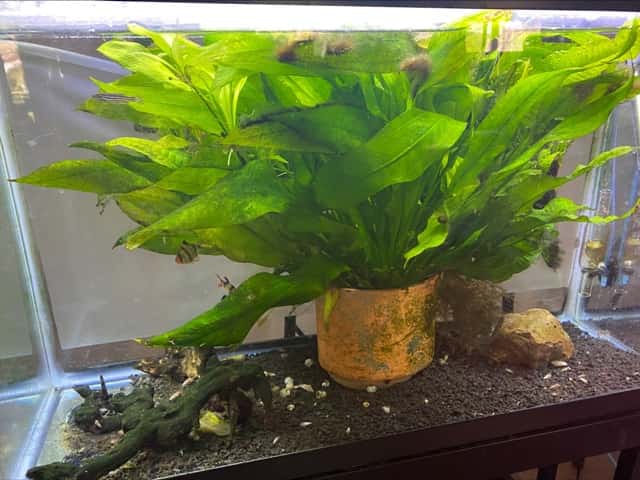
It all starts by buying the best ones. Tap this box to explore prices.
* API, Stress Coat Water Conditioner. I’ve used this product for over 30 years. I actually used to buy by the gallon. Check the price on Amazon by tapping here or tap the image.
* Miracle-Gro, Natures Care Organic Potting Soil. This is what I used in my setup, and it is what Diana Walstad recommends. With no added chemicals or fertilizers, it is safe for shrimp and snails. Check the price on Amazon by tapping here or tap the image.
* Decorative stones like the ones below. Check the price on Amazon by tapping here or tap the image.
* Window privacy film. This goes on the “back” of the aquarium and helps hide the wires and light support. It also adds an artistic touch that reminds me of the Amano pictures I’ve seen. Check the price on Amazon by tapping here or tap the image.
Total cost for everything above: about $200.
Growing lush aquarium plants requires carbon of some kind.
There are three sources of carbon (CO2) you could provide for your nano aquarium plants.
1. Natural CO2, which is produced by having a layer of soil (dirt) in your aquarium.
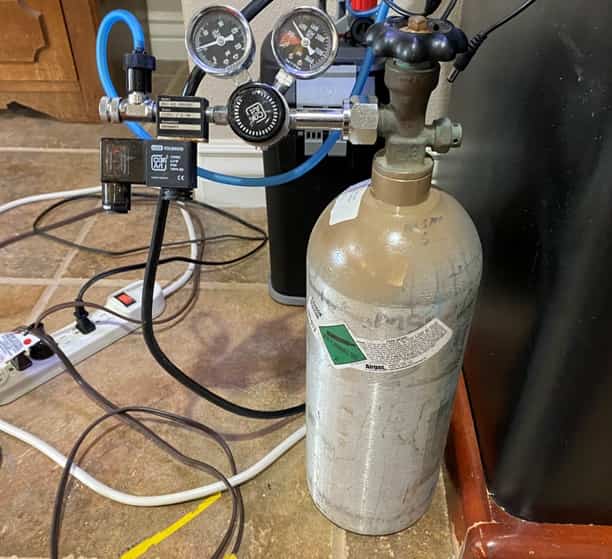
2. DIY CO2, which is made using products like this one on Amazon.
3. Pressurized CO2.
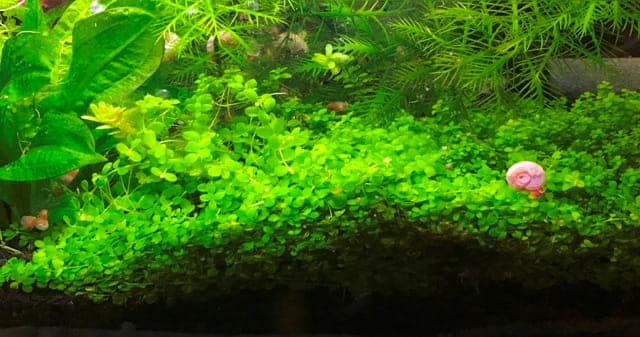
Picture below: My 2.8 gallon. Dwarf Baby Tears are taking over.

What do you keep in a freshwater, planted nano aquarium?
What you keep in a freshwater nano aquarium depends on the size of the aquarium. A rule of thumb is that the hobbyist can put no more than one inch of fish per gallon of water in the tank. A more humane hobbyist would have one half inch of fish per gallon. So a nanoaquarium of say five gallons could have two one-inch fish.
I wouldn’t keep any fish in a nano aquarium. A better option would be to add freshwater shrimp and/or snails at the rate of 3 snails or shrimp per gallon (based on the anima
Article: Freshwater Planted Aquarium Blog Information
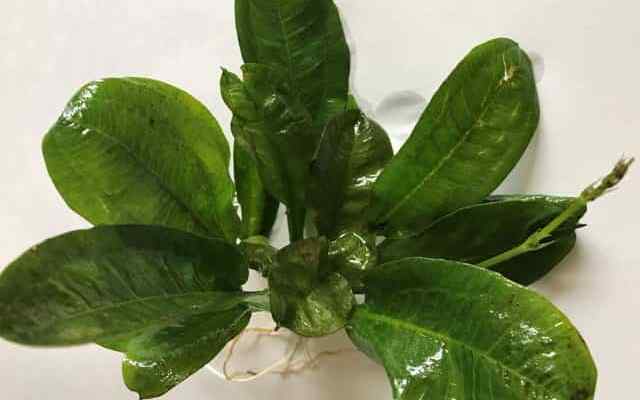
"I've created this blog because I really enjoy the beauty and the challenge of freshwater planted aquariums..."
How a “strictly natural,” low-tech aquarium produces the CO2 that nano aquarium plants need to grow
Diana Walstad, in her book “Ecology of the Planted Aquarium” (Amazon price check link), describes a natural style of increasing the CO2 in a planted aquarium.
You can see Diana’s website and blog here.
Diana is a research technician in the medical and biological fields. She earned a degree in microbiology at the University of Kentucky at Lexington.
Ecology of the Planted Aquarium reads like a huge scientific paper. Difficult to wade through, but worth the effort.
In this book, Diana describes experiments she did in creating aquariums using CO2 generated in aquarium soil by bacteria.
There is a large following of aquarists that swear by this method. I tried it once after reading the book, but the soil came loose and I had to tear down that tank.
I am trying again with my brand new 2-gallon tank (see photos).
I made some slight differences in my approach this time.
Picture above: The new 2-gallon aquarium. “Testing the waters”
Starting over with a brand new 2-gallon nano aquarium
To begin this time, I filled the bottom of the 2-gallon aquarium with about 2 inches of organic potting soil. I wet the soil down a bit and then packed it down tightly with my hand.
Next, I covered the soil with a piece of plastic window screen mesh, which I cut to fit. I added this to make sure the soil didn’t escape into the water column again. The mesh holes are wide enough to allow plant roots to enter the soil.
I covered the soil and mesh with about 1.75 inches of EcoComplete aquarium substrate.
I then filled the tank with water.
After a few days, the water took up tannins in the soil and turned a light tan color. I’ll do a water change when adding plants, but the tannins will come back. The plants probably use the tannins, so I won’t worry.
I then, using the suction cups already on the water pump, placed the pump into the tank. I placed it in the back and bottom of the tank with the water flow going towards the front of the tank. This pump provides gentle, visible movement of the water surface.
It is important to minimize water movement on the surface. CO2 is readily lost if there is water surface agitation in the aquarium. I am looking for a gentle flow on the water’s surface to minimize or eliminate biofilm formation.
Another important concept Diana has in her book is “plant rest” in the middle of the day. Basically, turn off the light for 2 to 4 hours, midday. This allows the bacteria in the soil to replenish the CO2 in the water. After the rest, the lights are turned back on for four or more hours. (Ecology of the planted aquarium, page 178)
I purchased aquarium plants for this nano from AquariumPlants.com. I’ve used them for years, so I am comfortable with them.
Here is the list of plants I purchased to go into my strictly natural nano tank:
* 1 × Micro Sword (Lilaeopsis brasiliensis) Bare Root Mat 6″x6“: These swords grow too tall for a small nano aquarium. I can trim them back as needed. This mat will almost cover the bottom of the aquarium.
* 1 × Clover Four Leaf Dwarf Pot (Marsilea crenata): I will cut this plant into tiny plugs and slip them into the mat to provide a contrasting leaf arrangement. You can see this style in this photo.
* 1 x Cardinal Plant (Lobelia cardinalis) bare root. This plant will hide the water pump and any electrical cords that might show.
______________
Here’s how to bring everything together to create your nano aquarium:
1. If you’ve previously filled the aquarium, you’ll now remove the tannin-filled water down to the gravel.
2. Take the clover and separate or cut it into several pieces. Each piece should have some roots. Now take the microsword mat and make small cuts in it at random. Push a piece of clover into each cut.
3. Next, lay the microsword mat with the plugs of clover in it into the aquarium mat on the EcoComplete. Lay the rocks on the mat for now to hold the mat in place while it roots. You can “plant” the rocks once the plant mat has rooted. (Plant the rocks and place them in the tank in a pleasing location.)
4. For the Cardinal plant, place individual stems around the pump to hide it as best you can.
5. Set the light timer to go on at 6:00 AM and off at 10:00 AM. Have it turn the light back on at 2:00 PM and off again at 6:00 PM. Plug the light plug into the timer and plug the timer in to an electrical outlet.
6. Secure the light to the back of the aquarium.
7. Now fill the tank with soft, purified water. If you need to, you can buy a couple of gallons of this type of water from the grocery store. Now add water conditioner to the tank.
8. Wait 14 days to allow the tank to “cycle” (run through a nitrogen cycle to build up beneficial bacteria). Help the cycle along by adding a small pinch of fish food to the aquarium every second or third day.
9. On day 14, order the Ramshorn snails and (or) shrimp (Amazon links). You can order the animals from anyone, but make sure the sellers offer or provide a cooling block (summer) or heating block (winter). I’ve had snails arrive dead in the summer and neon tetras arrive dead in the winter. Learn from my mistakes and buy from a reputable seller who adds extra heating or cooling when needed. Shipping costs for live animals can be expensive. Suck it up and buy what you need.
10. When the animals arrive, acclimate them to your tank before adding them.
11. If you ever need or want to move the tank to a different location, remove most of the water. It is awkward and a little heavy, so move carefully.
___________________________

Above: One of my aquariums
Article: How to care for your new fish bowl
“If you look closely, in the middle of the picture of my 2 gallon, seen through the water, is a black wire coming up from the heater. This heater lays flat underneath (not in) the aquarium bowl…”
You can turn your aquarium fish hobby into an income producing side hustle.
Create a website like mine to earn enough to buy aquariums, or fish, or equipment or if you work hard enough, retire from your 9 to 5.
I used "Divi" website creator to make this website. It costs $89/year (this comes out to about $7/month.)
Tap this ad to find out more.
How To Care For, Feed, And Make A Sandwich Out Of Your Adorable Goldfish
“Historical records suggest that the Chinese were the first people to breed and rear goldfish. They were first raised as food during the Jin Dynasty, between 265 AD and 420 AD….”
