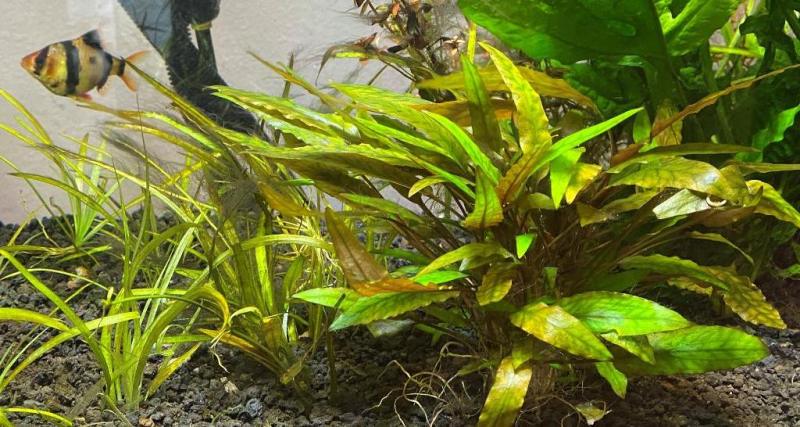
How to take photos of your fish using your mobile phone – Fish Aquarium Photography 101
So you want to take great photos or videos of your aquarium. This article will tell you how without bogging you down in photography details. After all your hobby is fish keeping, not photography.
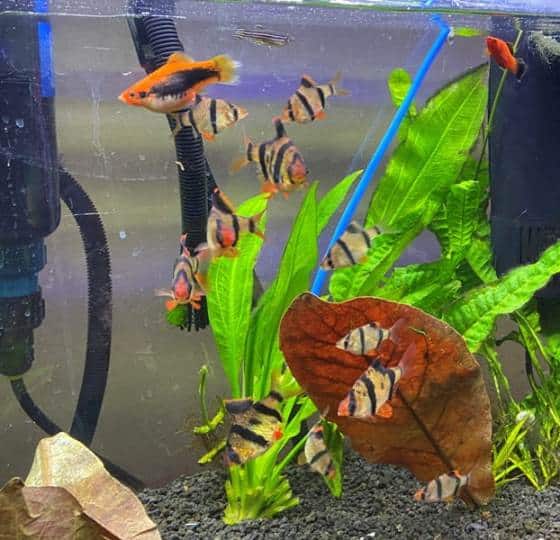
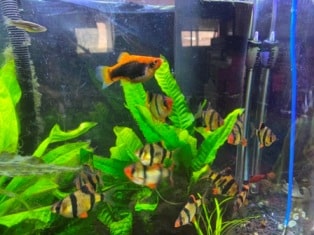
My tiger barbs, platies and if you look closely, one lonely zebra danio at the top of the picture. I forgot to clean the glass. Still a cool picture.

Image above: Snails eating bloodworms in my 2.8-gallon aquarium.
Eye-popping aquarium pictures
I am not a hobbyist photographer. I don’t have all sorts of fancy, expensive photo equipment. I’m just a guy that enjoys taking aquarium pictures with my iPhone.
So you want to take great pictures or videos of your aquarium.
This article will tell you how without bogging you down in photography details.
After all your hobby is fish keeping, not photography.
Experience These Article in Audio Using Your Browser!
If a system or browser is not mentioned here, the I haven't been able to find out how to make the system or browser work to read aloud.
PC's: Using the Edge Browser, left click on the article text and scroll down to "Read Aloud." The article will automatically be read to you.
iPhone using the Edge Browser: Using the Edge brower, tap the icon that looks like a book with a speaker located in the in the address bar. The article will come up now showing 4 icons on top. Tap on the second icon from the right to have the article read to you.
Android phones: Google Assistant is the most convenient way. Say, "Google, read this page."
1. How do you get your aquarium ready to photograph?
In order to get the best photos of your aquarium, I recommend taking these four steps first:
1. Clean the inside of the glass of the aquarium to remove debris and algae.
2. Do a large water change. Doing so will remove most water discoloration. You may not see any discoloration, but your camera might.
3. If you can, run an aquarium filter packed with filter floss (polyester fiber) for at least long enough to get the water crystal clear.

Helpful hint: Rinse the fiber before you place it in the filter. This will help get rid of the the tiny fibers that might harm your fish.
4. Clean the outside of the aquarium glass thoroughly to remove any water spots. Any water spots left will show up in your photos even if you can’t see them when you take the pictures.
Now you are ready to take your aquarium photos.
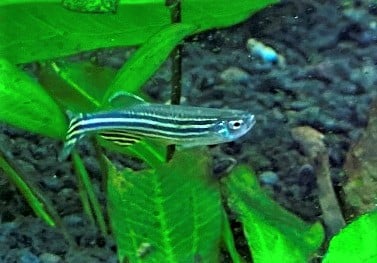
Here is a picture I took of one of my Zebra Danios. I had to take about 10 pictures to get one good one. Those little fish are fast! I should have used “burst” mode. Not my best picture but still kina cool.
If you look right above the fish you can see about a dozen green dots. That is algae on the glass that I missed.
You have my permission to use this image. Just provide a link back to this page if you do. 🙂
5 steps you can take to stop your aquarium plants from dying

You can turn your aquarium fish hobby into an income producing side hustle.
Create a website like mine to earn enough to buy aquariums, or fish, or equipment or if you work hard enough, retire from your 9 to 5.
I used "Divi" website creator to make this website. It costs $89/year (this comes out to about $7/month.)
Tap this ad to find out more.
2. Using “Burst” mode when taking aquarium pictures.
If you’re taking pictures of your fish, your IPhone “burst mode” would be quite helpful. Fish usually don’t stop moving, making it hard to get a good photo. Often you take photo after photo just to get one good picture Using burst mode forces your camera to take 10 pictures every second.
So if your fish is moving into a position where you want them to be, using burst mode will take a bunch of photos of the fish, one after the other. One of those photos may be a really good picture.
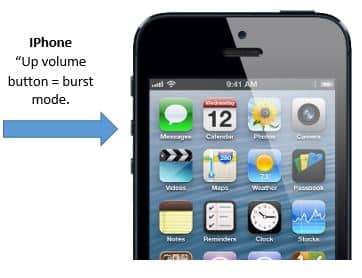
Burst mode with an IPhone 11 or newer (I know, I know so old fashioned…iPhone 11, really?):
Open the camera. Point at what you want a picture of, and then hold down the “up volume on the side of the phone. I experimented with this. I started burst mode and counted to five. My camera took 70 photos.
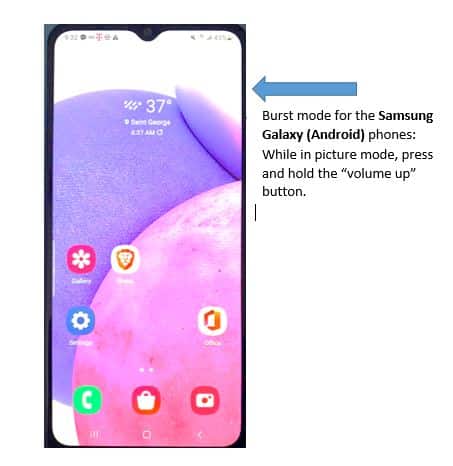
Samsung or other android smart phone:
Your Samsung Galaxy Camera™ allows you to capture up to 20 images in quick succession using the burst shot feature. To activate the burst shot feature, with the camera application open, touch and hold Mode, and then touch the Continuous shot thumbnail.
Iphone:
To view all of the photos you’ve taken and keep the best ones:
1. Tap the photo of the pictures you just took (bottom left of the screen) then tap “select” at the bottom middle of the screen.
2. After you do that, all of the photos you took with that “burst” will show up at the bottom of the screen with a larger picture above that.
3. Swipe right or left to view the photos.
Images I just took using burst mode:

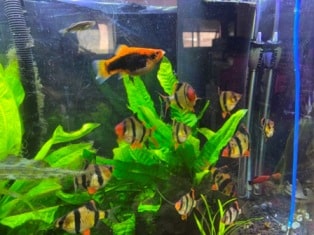
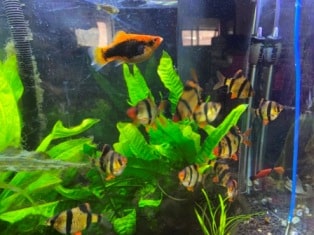

4. Keep the photos you like by tapping the small circle at the bottom right of the picture.
5. Then click “Done” at the top right of the screen.
6. A message will pop up to give you two options: 1. “Keep everything” or 2. Keep only “X” favorites with X being the number of pictures that you clicked on the circle.
7. Click either message. If you only want to keep the photos you like the rest will be deleted at this time.
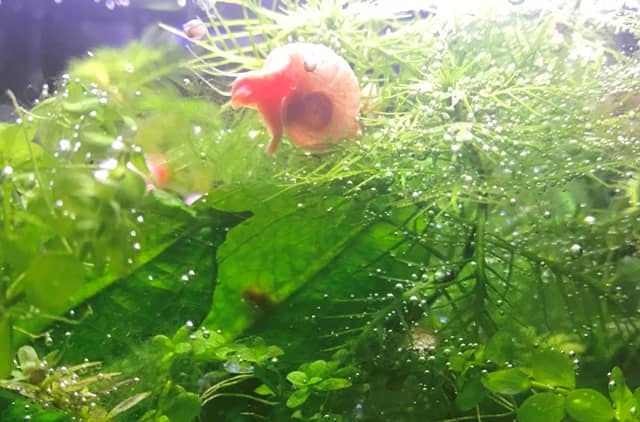
This is my favorite picture of all I’ve taken. If you are using a desktop computer do yourself a favor and tap the picture below, then tap again to maximize. Look at the reflections in the bubbles.
Above: A picture of a Ramshorn snail looking around my 2.8-gallon tank.
I really like this photo because of the pearling (O2 bubbles) that the plants produced that day.
Tap the picture above to view the full size (dare I say, huge?) image. Picture will open in a new tab.
You have my permission to use this image. Please provide a link back to this page if you do so. 🙂 https://plantedaquariumexpert.com/nano-aquarium-pictures/
3. Patience
Taking the best pictures of the fish in your aquarium may take a while. If any picture will do then it will only take a minute.
If you are planning to post the picture online you may want to take a few extra minutes to make sure you are getting the very best shot(s) you can.
Image below is a danio in my tank. It took about 5 minutes and a dozen pictures to get this image.


Who might have the best fish picture? Someone who just snaps a quick photo or two, or someone that takes five or more minutes to get the best picture they can.
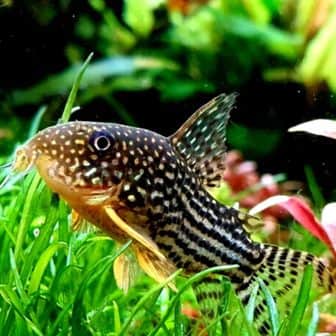
Here is a super cute fish to take pictures of Panda Corys.
4. Using “The Rule Of Three” for beautiful aquarium pictures
The best looking aquariums have hills, rocks or tall plants to the sides of the aquarium. In fact one side on the aquarium landscaping (when viewed from the front) is usually higher than the other. How does this relate to taking photos?
Of course this isn’t required but a suggestion that has the potential to improve you pictures.
Asymmetrical (arranged without being centered) photos are more visually stimulating than photos where the subject of the photo is in the middle. To offset this you can move the subject a little off center, or leave the subject fish centered but have another fish in the photo but not centered.
In the picture below the woman (my ex. Maybe she didn’t like aquariums?) is slightly off center making the photo more visually interesting.
5. Tripods
Amazon has over 20,000 listings for tripods. Google search shows 21,700,000 results for camera tripods. The amount of information on tripods is amazing.
The first question that comes to me when researching tripods is price followed closely by ease of use. The first tripod I bought cost $15. I’ll say you get what you pay for because adjusting the head to the angle I wanted was nearly impossible with that cheap tripod.
In addition, if the tripod doesn’t come with a smartphone mount you will have to buy one which adds an additional cost.
I was surprised at how inexpensive good tripods are. Some of the best recommended tripods run from $25 on up to $150. You can buy more expensive tripods, but wouldn’t you rather spend that money on your aquarium hobby?
Here are three things to consider when shopping for a tripod:
1. Do you want a tabletop model or a model that has legs long enough to reach your aquarium without setting the tripod on something. Considering that often you want to take close-up pictures of your fish, having a table in the way is just a nuisance. Go with a tall tripod.
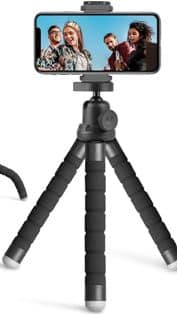 Table top tripod with flexible legs.
2. Plastic or metal legs? In other words a solid, strong tripod or a plastic tripod because you are careful with handling your aquarium equipment?
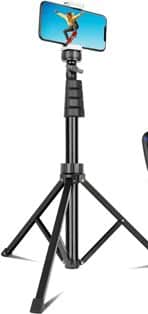 This extendable tall tripod can be raised to 62″ 5.15 feet (157.50 cm.)
3. How easy is it to adjust the “head”? The head is the part of the tripod that has handles which move your camera up and down and left to right. The head can be locked into place with built in nuts.
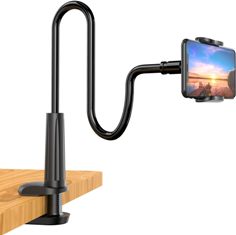 This is a clip on goose neck tripod. I use this type.
Save yourself a lot of hassle and just look for iPhone tripods. Pick on that looks solid and will do what you want it to.
If I were buying a tripod I would be looking to spending no more than $70 but not less than $45.
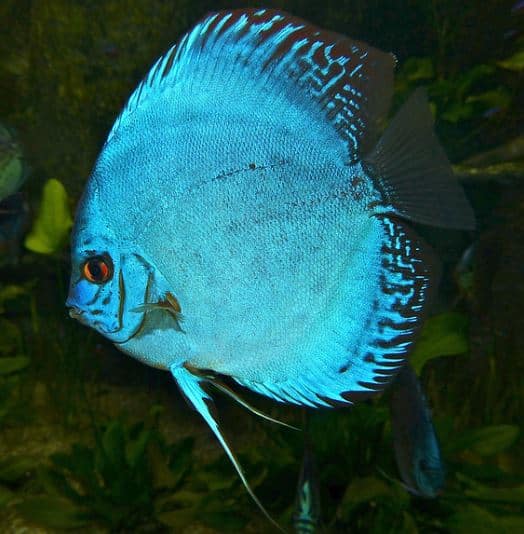
Discus
Discus Care
6. Camera Settings
What’s on my iPhone:
I own an Iphone 10. I know, I know time to upgrade. But, here is some interesting settings that can be changed to create different images. It is a camera nerd paradise.
Photography Settings on iPhone 10:
Basic Settings:
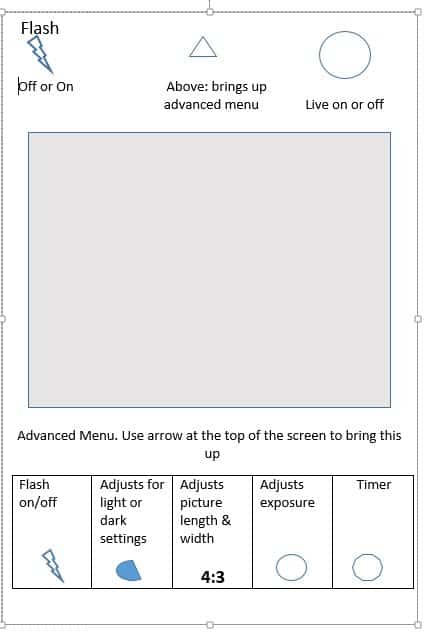
- Flash: Tap the Flash icon (top left) and choose Auto, On, or Off.
- HDR: Go to settings – tap on camera and turn HDR on or off. HDR captures multiple exposures for better dynamic range.
- Live Photos: Tap the Live Photos icon (top right) to turn Live Photos on or off. They capture a short video alongside the still image.
- Timer: Tap the up arrow at the top of the screen to bring up a menu. Tap the Timer icon (bottom right) and choose a delay (3s or 10s).
- Filters: Swipe left on the bottom row to explore different filters and select one.
Composition & Focus:
- Grid: Go to Settings > Camera > Grid and turn it on to help with composition.
- Focus & Exposure: Tap anywhere on the screen to set focus and exposure. Drag up or down to adjust exposure manually. The camera brings up a box that you can move around the screen to decide where to focus the camera. It will also ask you what type of lighting you are using.
- AE/AF Lock: “Auto-exposure, Auto Focus insures that the image is always in focus and the lighting is correct. Touch and hold the focus area until “AE/AF Lock” appears to lock settings for multiple shots. Tap to unlock. I call this an advanced option that is super easy to use.
Advanced Settings:
- Portrait Mode: Swipe right on the bottom row to access Portrait mode for blurred backgrounds. Choose Light effect (Natural, Studio, etc.).
- Exposure & White Balance: Open the Camera app, swipe up on the viewfinder, then tap the AE/AF lock icon to access options for adjusting exposure, white balance, and other advanced settings.
- Prioritize Faster Shooting: Go to Settings > Camera > Prioritize Faster Shooting to turn it off for higher quality images at slower capture speeds.
- Lens Correction: Go to Settings > Camera > Lens Correction to turn it off if you prefer uncorrected, wider field of view from Ultra-Wide lens.
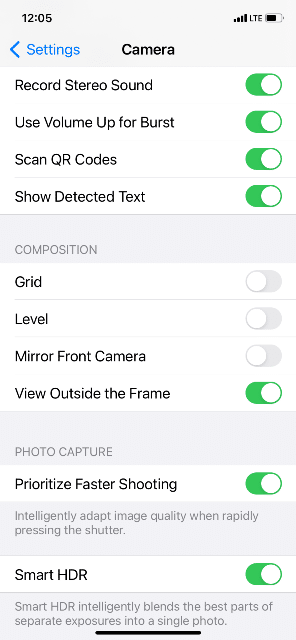
Camera settings screen – Iphone 10
Iphone camera settings are have an amazing number of settings. Unlock more creative control and capture stunning photos by messing with these settings.
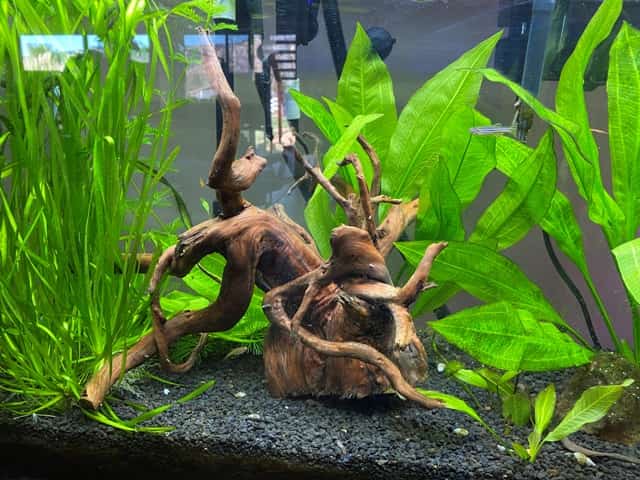
Image above: a picture of my 30 gallon tank. More trivia: The base of the driftwood used to be pushed a little ways into the gravel. My bristlenose plecostomus decided to make a home underneath and now it’s a bit off kilter.
Tap the picture to view high resolution image. You can use the picture if you want. Please provide a link back to this page 🙂 https://plantedaquariumexpert.com/nano-aquarium-pictures/
Here is another pleco species: Farowella Catfish. There are few photos of this pleco. Maybe you could add some to the net. Here is an article on the Farowella Catfish I wrote. 17 facts about the Farowella Catfish. Link opens in a new tab. I didn’t take this picture but I like it.

7. Aquarium Videos
1. Make sure you have proper lighting: The light you use to grow your plants is usually sufficient to get good videos. Be aware of transitory lighting which would affect the brightness or darkness of a video. Example of transitory lighting would be bright sunlight through a window in the morning that wouldn’t be there at noon or later. Another example of transitory lighting would be a door with bright lighting behind it that has been left open or is opened while you are shooting your video.
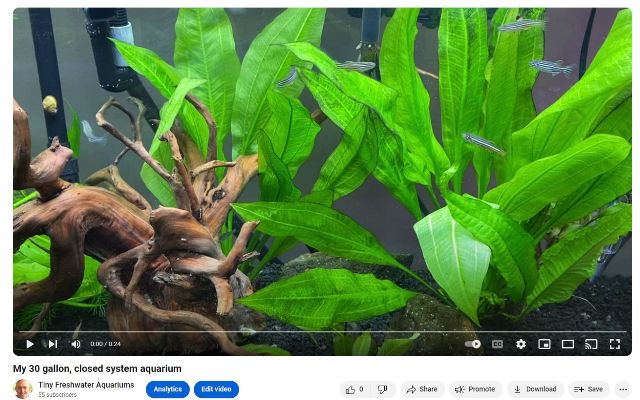
Video below is one I took awhile back. Tap picture to view video.
2. As mentioned earlier you will want the water and glass of your tank to be sparkling clear. This goes for pictures and videos.
3. Use a tripod. It is more difficult to hold still for a long period of time. A tripod will help. Also if you plan to pan (move your camera) to film other parts of your aquarium, a tripod will eliminate potential jerkiness. That said the video below was just taken by hand. I guess if the video was longer it would be jerky.
4. To keep your finished video from looking unprofessional When panning, move your camera very slowly. Fast panning looks strange and sometimes feels nauseating to your audience.
8. Questions and answers about taking aquarium pictures
FAQ:
1. How do I take the best photographs of my male betta fish?
Make sure he’s “posturing” with fins all the way open. If possible place your betta in a tank with a pure black background. To get one amazing photo take many, many pictures, preferably in burst mode.
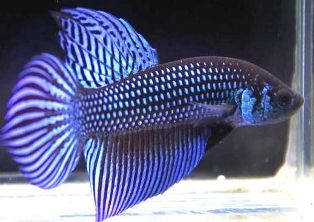
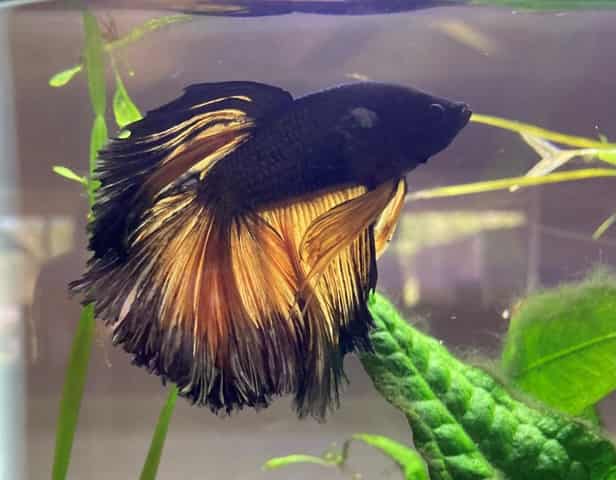 My Halloween colored male betta. Picture taken in 2021 by my niece on her iPhone.
2. What is the best free IPhone app for taking better aquarium pictures?
The most reviewed photo app on IPhone apps is “Focos”. Even though I have Focos on my phone I’ve never used it. Update: May 2023 Focos is still the top rated app for taking photos with your phone.
3. “What else should I consider when taking photos of my aquarium?”
a. Avoid reflections. To do this you may need to chose a optimum time to take pictures of your tank.
b. If your fish are “scaredy cats”, consider using a tripod and your timer to take pictures. You may need to hide somehow in order to catch that perfect picture.
c. Try adjusting your lighting to get different lighting and shadow in your aquarium.
d. Take a lot of pictures. I’m talking dozens if not more each time you photograph your tank.
References and additional information:
* 19 AQUARIUM PHOTOGRAPHY TIPS & IDEAS IN 2023 – fixthephoto.com
* Photograph the aquarium – How to photographing for online competitions & forums – Aquariuminfo.org
Aquarium Photography Tips – slrphotographyguide.com
Fishes In Aquarium Photos – Fine Art America – For when you give up on taking your own photos.
Aquarium Photography 101: Tips and Tricks and Limitations for Your Smartphone
The hobby of aquarium photography may be made more entertaining as well as fulfilling by taking photos of an aquarium with a cell phone. Naturally, this carries with it certain challenges and shortcomings. I will be discussing some of the variables that play a part in the quality of aquarium photography using a smartphone. I would also like to provide some ideas and tips that will help you get better results.
Smartphones now have better cameras, but they still lack some features that regular cameras offer.

One of the major limitations comes in the form of the size and resolution of the image sensor and lens. The image sensor is the light-sensitive portion of the camera that converts light into digital form. What is most essential for a camera is the lens; it focuses the light onto the sensor. Both of these parts are significantly less complex and are much smaller in smartphones than compared with DSLRs or mirrorless cameras.
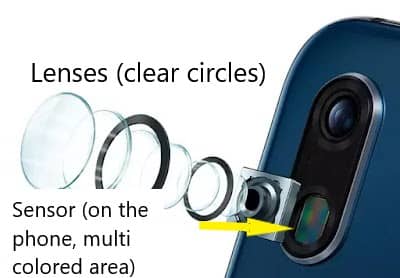
Below is a light sensor. These are used in camera phones and other equipment
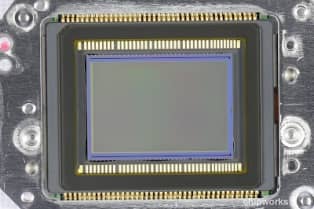
Smartphone cameras possess a more limited dynamic range, are not as sensitive in low-light conditions, exhibit increased noise levels, and have greater distortion compared to bigger cameras.
Dynamic range is defined as the capability of recording detailed information from both bright and dark areas of a photo. Low-light sensitivity refers to the creation of clear images under poor lighting conditions. “Noise” is the granular or dotted appearance of an image that originates from the random fluctuations in the signal level provided by the sensor. Distortion makes straight lines or shapes bend or stretch within a photo because of flaws in the camera lens.
These types of constraints may cause the quality of aquarium photography to drop drastically.
Image below: “noisy” low light setting

For instance, while taking pictures of a lit aquarium in a dark room with your smartphone camera focusing on the fish details or background, you may find some aspects overexposed and some underexposed. This is because your smartphone camera has a limited dynamic range as compared with those in human eyes.
If you are taking photos of an aquarium under low-light conditions, your smartphone camera may generate either noisy or blurry images. This is because your smartphone camera has to boost its ISO (sensitivity of the sensor) or drop down to a lower shutter speed (a measure of how long the sensor is exposed to light), which can make noise in the image and cause motion blur.
Another disadvantage of smartphone cameras is that they have a fixed aperture and focal length. The aperture is the hole in the lens that regulates how much light comes into the camera. Focal length is the distance from the lens to the sensor, which decides how much of your scene you capture and to what degree it will be enlarged.
The common smartphone cameras cannot adjust their aperture and focal length, which prevents you from altering the depth of field or zoom level for your images. The depth of field refers to how much an image is ‘in focus’ or sharp, in front and behind the camera. The zoom level is the measure of magnification or enlargement that an image may have.
As a result, you may find that you have less freedom to express your distinct style in your aquarium photography.
Say you want to take a picture of one fish with a blurred background. This could be difficult using the camera on your phone because its aperture is small and the lens captures a wide scene, which makes everything look in focus. In the same way, when you try to take a detailed picture of a small fish or coral with your smartphone camera, it can be difficult because the zoom is not as strong. This is because the lens has only one fixed distance for focusing.

Above: Accidentially focused on the leaves instead of trhe dog.

Image above: Perfect focus.
Low-light and underwater environments
Light conditions in and around the aquarium also influence how well you can take photos with a smartphone. Often, aquariums are set up in places without much natural light. This makes it more difficult for smartphone cameras to capture clear images.
Also, aquariums are underwater environments that have different optical properties than air.
If you take a picture underwater, the colors and contrast will look different because water absorbs and scatters light differently than air. In fact, the pictures will probably look more blue or green because water absorbs more red light than blue light.
Also, water scatters light more than air, which makes photos taken underwater less sharp.
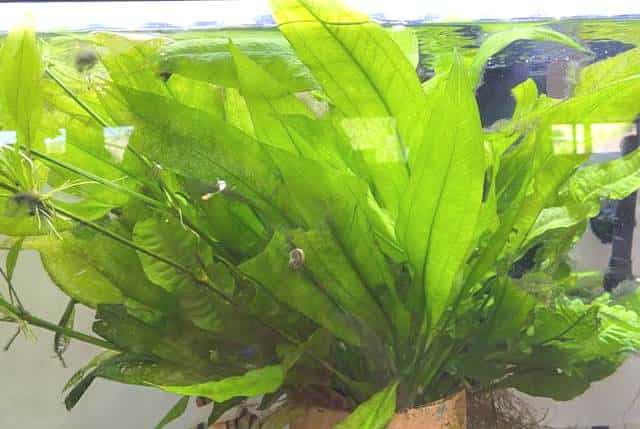
This picture I took of a sword plant has multiple issues due to it being under water.
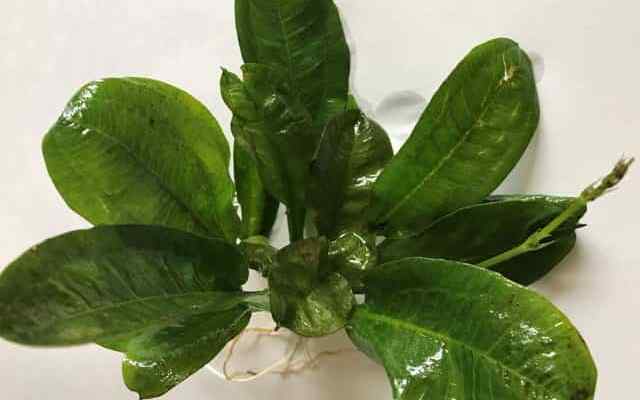
Picture I took out of the water of a rosette sword plant
To get past these difficulties, you might use additional tools or methods to make your smartphone aquarium photography better.
You could try using an extra light or flash to brighten your subject and bring back the colors and contrast that are missing. But you must watch out so you don’t make it too bright or cause unwanted reflections and shadows.
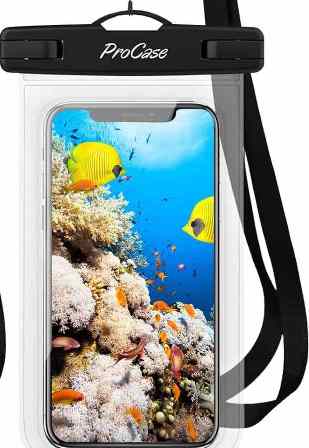
Fascinating: You could also use an underwater housing or case for your smartphone. This will allow you to take pictures right in the water of the tank without distorting or losing quality. You should make sure that the housing or case you choose fits the model of your smartphone and doesn’t get in the way of the camera’s functionality.
Above: water proof case – 4200 reviews – 4.5 stars. $8.00 (what only $8??)
Size and Shape of an Aquarium
The final element that influences aquarium photography with a smartphone is the aquarium’s size and shape. What kind of space you have, how much distortion you might see, and how creative you can be depends on the size and shape of the aquarium.
The size of an aquarium determines how close or far you can be and how much of the aquarium you can include in a single picture.
You might not have as many options for framing and composition if the aquarium is small. A small aquarium will allow you to get better close-ups of your fish or aquascaping.
A bigger aquarium might give you more options for different angles and points of view, but your fish may not be as close as in a smaller tank.
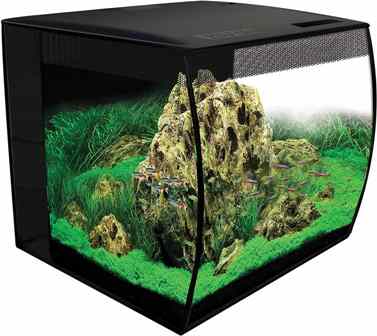
The shape of an aquarium determines how the water and light hit the glass or acrylic walls, which in turn determines how images are distorted or enlarged. Some aquarium shapes, like spherical or curved ones, may cause less distortion than rectangular ones, while others, like hexagonal or cylindrical ones, may produce more eye-catching effects.
Amazon: $169 – 15 gallons. Tap image.
How much light your aquarium gets, both natural and artificial, depends on where it is in your room. In my case, the sliding glass doors across the room makes a sizeable reflection in my aquarium. My best pictures are taken in the morning before the sun comes up.
If you want to take pictures of an aquarium, it should be near a window that gets indirect sunlight.
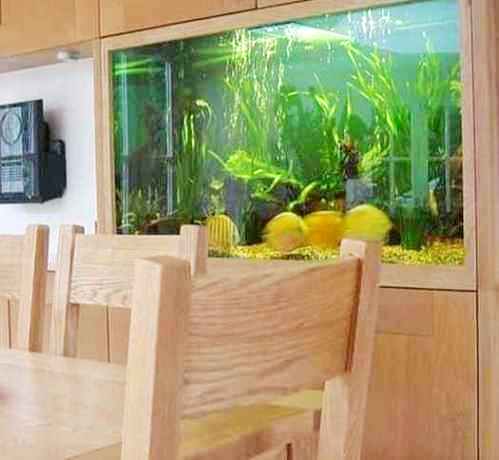
The worst place is right next to a window that gets direct sunlight, which makes shadows and reflections that are hard to see and can ruin your photos. Of course, you can change the amount and direction of light coming into a room with blinds, curtains, or shades. It is a matter of experimenting.
Last Thoughts
I’ve given you some tips and tricks to help you get better at taking pictures of aquariums with your phone. Using outside tools or accessories, picking the right spot and lighting, and trying out aquariums of different sizes and shapes are some examples.
One last picture. I took this this morning. It was dark out. Aquarium lights only.
Important: Notice how everything in the image is off center.
If you are looking to understand how better photos can be taken using a smartphone, then maybe checking out some of these websites that provide various tips and tricks on improving your photography skill set would interest you.
– How to Take Good Photos With Your Phone: 25 Tips & Tricks (https://expertphotography.com/how-to-take-good-photos-with-phone/)
– 12 Mobile Photography Tips Every Photographer Should Know (https://iphonephotographyschool.com/mobile-photography-tips/)
– How to Take Better Photos with Your Android Phone (https://www.androidcentral.com/how-take-better-photos-your-android-phone)

